
DIY Camera Stabilizer
When you are in the video industry, either professionally or as a hobbyist, it is essential to invest in camera stabilizers. Gimbals, steady cams, and other products make the entire filming process a candy. But a good stabilizer can be expensive. And if you are still wondering whether you should get one, here is an example of how to build a DSLR camera stabilizer.
Check Out The Example Build Video
To get a better understanding of how you can improve your footages and struggle of moving the camera by hand – try to build a very simple frame yourself. The only materials that will be required are PVC pipes, some drill, and a few screws. If you want to get more DIY-ish, then 3d printer. Take a look at the video below for what I did:
I found it extremely useful in certain situations, especially when you are filming everything yourself. Instead of holding a camera with two hands, you need only one hand when you grab the frame via the top handle. The overall cost of such a DIY build (considering that you already have all the tools) is quite low. Although it is not the best stabilizer for the camera, it will dramatically improve how you hold and move the camera around. Simply because it extends the distance between hands and the camera itself which in turn extends the precision of pointing the camera.
I also have all the files and schematic available in case you want to print the base part of the camera lock. It contains two main parts – the lock handle and the base; plus the top sliding part to test the design. It looks like this:
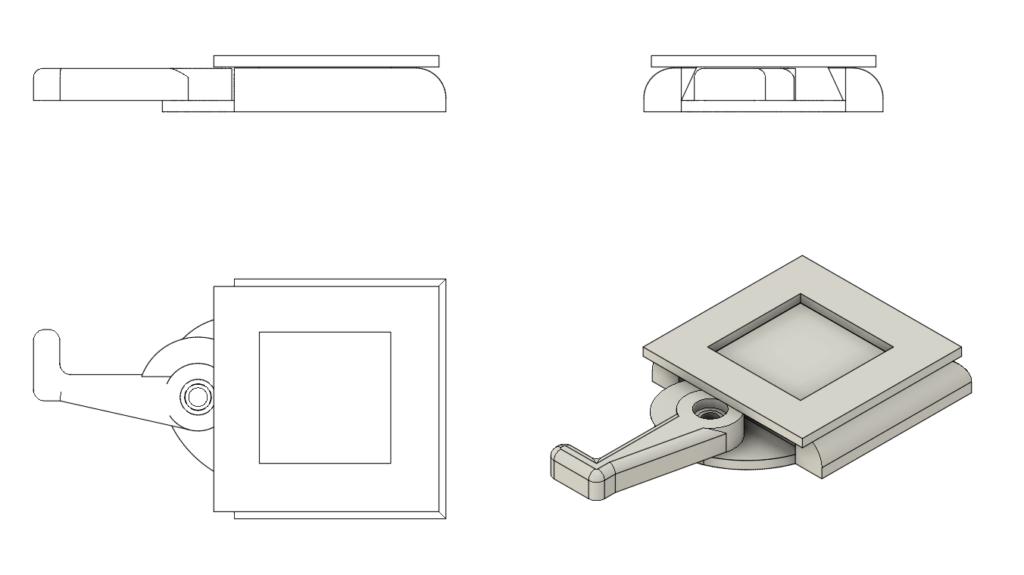
STL files for 3D printing:
Camera Lock – 3D STL Files
Fusion 360 files for the lock are here:
Camera Holder v8 Fusion360